Thursday, March 26, 2015

Roasted Butternut Squash And Beet Green Stir Fry

I made this recipe because I had some things that needed to be eaten... It was good!


Ingredients
1/4 of a roasted butternut squash (cut into small cubes)
3 handfulls of baby spinach
2 cups red cabbage
All the tops of the beets you just used in the other recipe :)  or, from the tops of 4 beets with the stems cut off
2 teaspoons olive oil
1/2 tsp ginger garlic paste
1/2 tsp coriander powder
A couple tablespoons heavy whipping cream (optional)
salt to taste (a pinch or two)


Roast that butternut squash in the oven and cut a quarter of it up into pieces

Blanch the red cabbage in a couple cups of hot water. Only leave it in the water for a minute to a minute and a half - and drain.


Put oil in the pan and heat on med-high temperature
saute' red cabbage in the oil for a few minutes - add ginger garlic paste and cook until no longer raw

Add beet greens and spinach to the pan and cook until wilted


Add salt, coriander powder and cream, stir until heated

Add butternut squash


Cook until everything is heated through and serve!

Add a few Roasted Beets, some quinoa and some salmon and you have a lovely dinner


Oven Roasted Beets And Carrots With Coriander

I found this recipe on A Brown Table A really wonderful blog for unique and tasty things.

These are the BEST beets I have ever made!


oven roasted beets and carrots with coriander
yields: 2-4 servings
ingredients
6 medium sized beets 
3 large carrots
1 garlic bulb
1/2 teaspoon coriander seeds, coarsely ground
1/2 teaspoon black pepper, coarsely ground
1 teaspoon kosher sea salt 
1 tablespoon olive oil
a few sprigs of thyme (I used lemon thyme to garnish)

1. Place a wire rack in the center of the oven and preheat to 350F. 


2.  Leave about an inch of the stems on the beets. Wash and wipe the beets dry. Peel the outer skin and discard. Cut the beets across the length into 8 sections. Place the beets in a large mixing bowl.


3. Peel the carrots, cut them in half and then slice them into 1/2 inch thick strips. Add the carrots to the beets in the bowl. Slice the garlic bulb in half and add both halves to the bowl. Add the coriander, black pepper, sea salt and olive oil. Toss gently to coat the vegetables evenly. Spread the mixture out evenly onto a baking sheet. Place the baking sheet in the oven and cook for about 30-40 minutes or until the vegetables are tender but the edges slightly crispy. The beets and carrots will get slightly blistered and the stems of the beets will be browned and crispy. 


4. Transfer to a serving dish and garnish with a few sprigs of fresh thyme. Serve immediately. 
Note: On sitting the vegetables can get slightly soft, I prefer to serve them fresh out of the oven because they have a wonderful combination of crispiness mixed in with the soft tender flesh. However, you can reheat these in the oven for about 5-10 minutes at 350F if they get a little soft.

Thursday, March 12, 2015

vegetarian miso stir-fry soup

Usually if I am just throwing something together for dinner I don't take pictures, and tonight was one of those nights. But my soup turned out unusually good and so I felt I should at least share the recipe!


Ingredients - makes 2 servings

4 tbsp (or to taste) Westbrae Natural organic mellow Miso
Dried seaweed (as much as you like - I used about a sheet)
6 cups water
Packaged fresh pin noodles
3 - 4 heads baby bok choy, sliced thin
About 15 oyster mushrooms, sliced thin
1 tsp ginger garlic sauce
1/2 block soft tofu, cut into squares
3 tsp soy sauce (to taste)
2 tsp fish sauce (you really do need this)
2 tsp coconut oil or vegetable oil
1/2 tsp dark sesame seed oil
A couple dabs cock sauce (Siracha)


For miso broth
soak seaweed in warm water until rehydrated

Drain and rinse until water is clear. Chop into desired squares and add to 6 cups water and bring to a boil. Add miso, 2 tsp soy sauce and fish sauce to boiling water and reduce heat to simmer.


For stir-fry
Add oil to pan and turn to med-high heat. When hot add mushrooms and cook for about 5 minutes. Add ginger garlic paste and cook for 1-2 minutes. Add 1tsp soy sauce and sesame seed oil - cook for an additional couple of minutes. Add bok choy and cook until tender (about 7 to 10 minutes)
place stir-fry evenly in the bottom of 2 large soup bowls

Cook the tofu in the pan you just used to stir fry (you may need to add a little more oil) - fry until desired color is achieved. I cooked the tofu for about 5 min a side until a slight brown was achieved. OR you don't have to cook it at all, just warm it up in the microwave if low fat is desired.

Stab a few holes in the noodle package and cook in microwave for 2 minutes

Add tofu and noodles to stir fry

Ladle desired amount of miso broth over stir fry mixture, add siracha to taste and stir.

mmmm tasty!!


Sunday, March 8, 2015

Eggs benedict with polenta, basil pesto, fontina cheese and salmon

Also known as the Sunday Night heart attack - ohhh yeah....


There is this little bistro down the street that makes this dish, and it is wonderful but the price is rather steep and they don't serve it for dinner, which is when I wanted it, so I decided to make it for myself.


Start by making the polenta about 4 hours before you want to eat it, so that it will have time to set up.
I didn't take pictures of the process, but here is the recipe -Hard Polenta Cakes
My only recommendation is use less salt than the recipe says to.

Here is my finished polenta - the cakes should be round but I don't want to waste any...


Start the oven and prepare the salmon


While the oven is warming make the Hollandaise
I like Alton Brown's recipe, the only thing I do different is I use clarified butter instead of pats of butter. I think the Hollandaise is creamier, and it is easier to make without having to whisk in each individual pat of butter

To clarify the butter melt it on low until completely liquid


Skim the solids off the top


And let the butter cool on the counter while you whisk the eggs


At this point put your salmon in the oven and set timer for 15 min.
Start warming the water for the poached eggs
Start the pan for the fried polenta
and fry it on med - low  heat until both sides are browned

While the polenta is frying and the salmon is baking, slowly add the butter to the eggs for the hollandaise.

NOTE: at the end - when adding the salt and the lemon juice be very sure that your pan is no longer on the heat and the hollandaise has cooled or the lemon juice will RUIN your lovely emulsion


In the last 5 minutes of the fish cooking you should poach the eggs. I used Alton's method and the only thing I would do is leave the eggs in for around another minute, they were a little too runny for my taste.

Everything should be done around the same time

Warm your plates up

Spread out a tablespoon of basil pesto and set the fried polenta on top


Add the fontina cheese to the top
add the poached eggs
and the salmon
 then put the hollandaise on the top
(I used a little too much hollandaise but it was yummy anyway)


If this is too heavy for the tummy try some Swedish bitters in water to aid digestion 
it really does help

Monday, March 2, 2015

Valerie's stuffed mushrooms

This is my stuffed mushroom recipe - and a perfect example of how mistakes make you a better cook.

Also included is my favorite roasted broccoli recipe

For the mushrooms

2 portobello mushroom caps
1/4 of a med onion, diced small
4 cloves of roasted garlic, diced small
4 tbsp mascarpone cheese (can substitute cream cheese)
a good hunk of blue cheese, chopped small

Broccoli recipe

1 head broccoli
4 tbsp lemon juice
2 tbsp olive oil
shredded Parmesan cheese

Toss olive oil, lemon juice and broccoli together. Bake with mushrooms

Preheat oven to 350 degrees

Brush the mushroom caps off and cut the stem out


Cook the onions and the garlic in some butter until desired browness is achieved -  squish and mince together with a knife


Put in a small bowl with some bourbon smoked cracked pepper


Roughly chop the blue cheese


Add mascarpone and blue cheese to the onion garlic mixture - mix thoroughly


Now, here is where I messed up - I added the cheese mixture to the mushrooms before I baked them but I think that I need to bake the mushrooms for a while first then add the cheese mixture and bake until it bubbles...

But I added it to the cold mushrooms


And baked at 350 degrees (with the broccoli)


And then they leaked all over the pan


But that's okay... I just scooped up the yummy cheese and put it back in the mushroom caps then added some Parmesan cheese to the top

Add some to the top of the broccoli

and serve!!!!


Jamie Olivers Hot & Sour soup

When I try a new recipe I usually follow it to the T - as I did in this case. The soup was good but it was not hot & sour soup as I know hot and sour soup....  but we still ate it!

Jamie Oliver's Hot and Sour soup recipe

Ingredients

2 cloves of garlic
1-2 fresh red chillies
sea salt
freshly ground white pepper
1 thumb-sized piece of ginger
250 g shitake mushrooms, cleaned
225 g bamboo shoots, drained
groundnut oil, or vegetable oil
low-salt soy sauce
rice wine vinegar
1 teaspoon runny honey
1.5 litres hot organic vegetable stock
150 g firm tofu
2 spring onions
½ bunch of chives
1 large free-range egg


Method
Peel the garlic and deseed the chillies, then roughly chop and place into a pestle and mortar. Bash with a pinch of salt to a rough paste. Peel, finely chop and add the ginger, then bash until broken down and combined.


Finely slice the mushrooms and bamboo shoots. Heat a lug of oil in a large wok or heavy-based saucepan over a medium-high heat, add the mushrooms and fry for 4 minutes, or until lightly golden.


Stir in the chilli paste and bamboo shoots and fry for a further minute. 

Meanwhile, mix together 3 tablespoons of soy, 4 tablespoons of rice wine vinegar, the honey and a good pinch of white pepper.

Stir the mixture into the pan and cook for a minute, then pour in the hot stock and bring gently to the boil. Reduce the heat to low and simmer for 10 minutes, or until slightly reduced. Meanwhile, chop the tofu into 1cm cubes, finely slice the spring onions and chives and whisk the egg well.


Once reduced, remove the soup from the heat. Using a chopstick, SLOWLY stir the soup in a clockwise direction until you get a little whirlpool, then slowly add the beaten egg, stirring continuously to form thin ribbons. Stir in the tofu and return to the heat for 1 minute to warm through.

Season to taste with soy and vinegar, then serve immediately with the spring onions and chives scattered on top.


Pressure cooker chicken stock

When I was growing up we were fairly poor so we learned to not waste things. Chickens were definitely one of those things. We would get a roast chicken, eat the majority and then remove everything edible for later and use the bones to make a broth.

A couple of years ago my amazing sister bought me a fantastic book that provided a really great chicken stock recipe. Before this I had no idea you should roast the bones and crack them to expose the marrow, it made a huge difference in the flavor of my stock.

My sister and mom got me a pressure cooker for my birthday this year and I have never in my life made a better stock. You can make this without a pressure cooker but you wont achieve the color that comes from using one, there is just no competition.

I do not roast my own chicken. I used to and I gotta say what a pain in the ass. I gave up on roasting my own and now I buy the organic, free range roasted chickens from King Soopers because they are way easier and I don't have to deal with a raw bird, which I only do if I absolutely have to.


Ingredients

1 roasted chicken
2 medium onions
2 ribs of celery
6 cloves of fresh garlic
Vegetable trimmings (I usually save my vegetable trimmings for either vegetable or chicken stock. You can use potato skins, tomato innards, bok choy pieces, celery trimmings, carrot tops, or any other savory vegetable trimmings. I do not recommend sweet potatoes or beets.)

Preheat your oven to 300 degrees

and start with a roasted bird - reserve the juice from the chicken and add to the pressure cooker pot


I use two bowls, one for the stuff that goes in the stock and one for the meat.
Remove the skin and put in the bowl, then remove all the meat from the bone.
Try to get the bones as clean as you can and set them aside while you work. It takes about 20 minutes to do all this.

When you are done separating then you can focus on the bones. I have tried exposing the marrow both before and after roasting the bones and I have found that you get much more flavor if you crack the bones before you roast them.

  I have a pair of diagonal pliers exclusively for this purpose

Crack the bones and expose the marrow


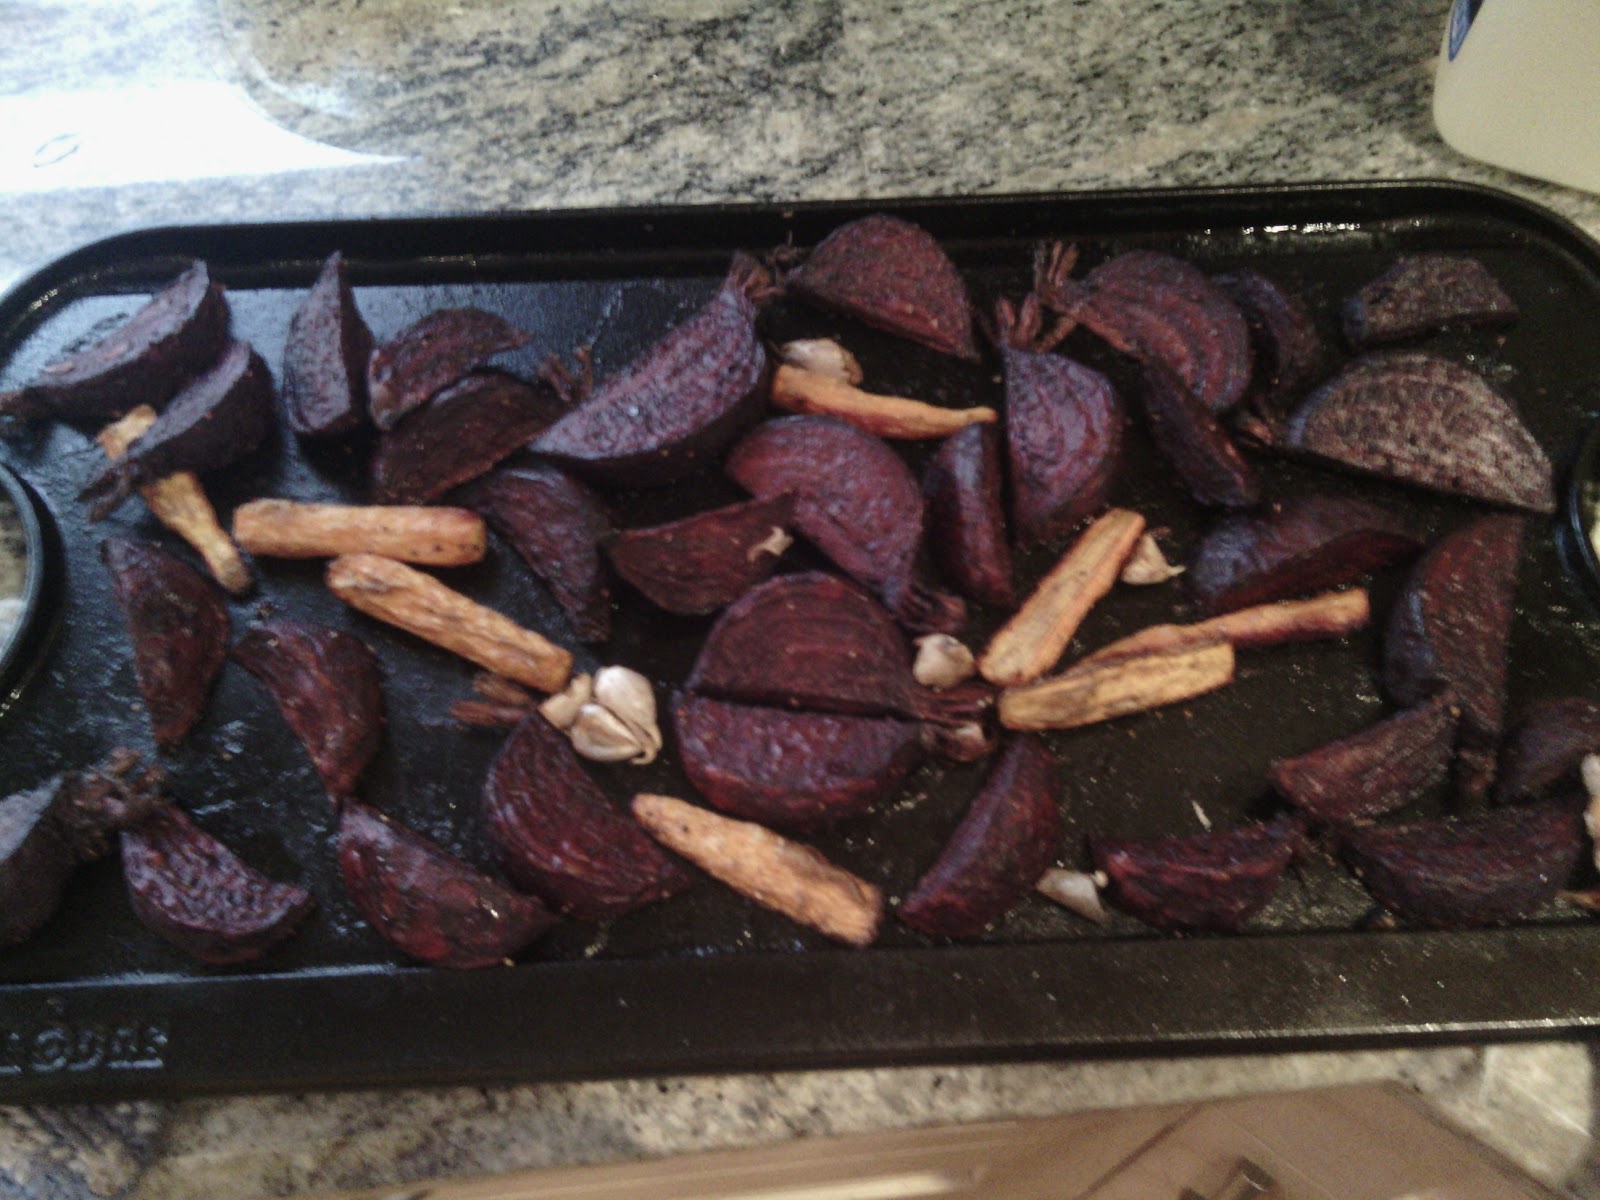
 Place on a baking pan or cast iron skillet along with the onions, garlic, and celery


Roast in the oven for about an hour or until you see the onions roasted


Fill the pressure cooker to the 1/2 line with COLD water. Part of the process of extracting the best flavor is starting with cold water. 
Add whatever vegetable pieces you have reserved for your stock


Add the chicken to the cold water


Gently bring to a boil (without lid) over a low heat
This should take about an hour

When it comes to a boil lock the lid into place and bring pressure to the second line

VERY IMPORTANT - cook this for no less than 4 hours for maximum flavor

When done cooking move everything to a stock pot and refrigerate ALL of it over night. 

The next day gently bring the whole thing to a boil

then stain the solids out

and enjoy your stock!!


LOOK at that COLOR!!!!!!

mmmmm